
You’ve spent years getting good at your job. You know the shortcuts, the common mistakes, and the small details that make work go smoothly. Other people would pay to learn that. A profitable course is more than recorded videos. It’s a learning product that moves someone from where they are to a result they want. These nine steps show you how to build one, using proven ideas from instructional design and adult learning.
Jobs are changing fast. According to the Future of Jobs Report 2025 from the World Economic Forum, companies anticipate that 39% of what workers rely on as core competencies will shift by 2030. A large share of the workforce has already started teaching themselves. In a study by Pew Research Center, 63% of working adults in the US reported completing a class or professional development session during the previous 12 months to sharpen their skills.
Step 1: Identify the Knowledge and Expertise You Can Teach
Start by listing what you know how to do, not just what you know about. Courses sell skills and results, so focus on the tasks you handle well that other people find hard. You can read a textbook to learn the mechanics of a sales pipeline. What it won’t do is tell you how to respond when a client disappears after you send a proposal. Only someone actively doing the job can pass on that sort of practical experience. There is a catch, though. It’s hard for experts to teach beginners because they forget what it felt like not to know. Steps that once took effort now happen on autopilot, so they get left out of the lesson. Experts can sometimes overlook steps that beginners need because those steps have become automatic through years of experience. If you plan your course from memory alone, you may unintentionally leave out information your learners need.
Try these three things instead:
- Record yourself doing the task and write down every choice you make.
- Talk to two or three people who are new to your field and ask where they got stuck.
- Look through your emails and note the questions people ask you most often.
The list you end up with becomes the raw material for your course.
Step 2: Define Your Target Audience and the Problem You Solve
A course can’t serve everyone. Choose one type of learner and one problem they want solved, and your content, examples and price all become easier to decide. Adult learning principles help explain why. Malcolm Knowles, whose work helped shape adult education, emphasized that adults are more ready to learn when learning connects to real situations in their work or life. A course for “anyone” can’t do that.
Describe your ideal learner in a few plain lines:
● Who they are, including their role and experience level.
● What they’re struggling with right now.
● What they’ve already tried that didn’t work.
● What result they would happily pay for.
Here’s how a broad topic changes when you turn it into a clear promise:
| Broad Topic | Clear Promise |
| Learn Marketing | Get your first five consulting clients from LinkedIn in 60 days |
| Excel for Beginners | Build a monthly budget tracker for your small business in one weekend |
| Public Speaking | Give a confident 10-minute team presentation without reading from notes |
Step 3: Validate Your Online Course Idea Before You Create It
Validation means proving that people will pay for your course before you spend weeks building it. Write a one-page outline, share it with your network or email list, and ask people to pre-order at a lower early price. If a few people pay, you’re on the right track. If nobody does, you’ve saved yourself weeks of recording.
A few other simple ways to test demand:
● Run a free 45-minute live workshop on one part of your topic and see how many people sign up and stay until the end.
● Teach a paid pilot group of five to ten people live. You’ll get feedback, testimonials and a clear view of where people get confused.
● Read the questions people post in LinkedIn groups, forums and online communities in your field.
Step 4: Set Clear and Measurable Learning Objectives
Learning objectives describe what learners will be able to do by the end of your course. Writing them before you create any content keeps the whole course focused on results instead of information. Instructional designers call this backward design, an idea made popular by Grant Wiggins and Jay McTighe in Understanding by Design. You start with the end result, then plan the lessons that get learners there. Good objectives use action verbs you can observe and measure. Bloom’s Taxonomy organizes learning into levels of thinking such as remember, understand, apply, analyze, evaluate, and create. For professionals, many objectives should focus on applying knowledge or higher-level thinking because learners want to use a skill, not simply recognize information.
| Vague Objective | Measurable Objective |
| Understand LinkedIn Marketing | Write a LinkedIn headline that clearly states who you help and how |
| Know How Pricing Works | Set a project price using your target hourly rate and expected hours |
| Learn About Proposals | Draft a one page consulting proposal a client can approve |
Clear objectives also answer the question adults ask before giving their time: Why do I need to learn this?
Step 5: Organize Your Course Into Structured Modules and Lessons
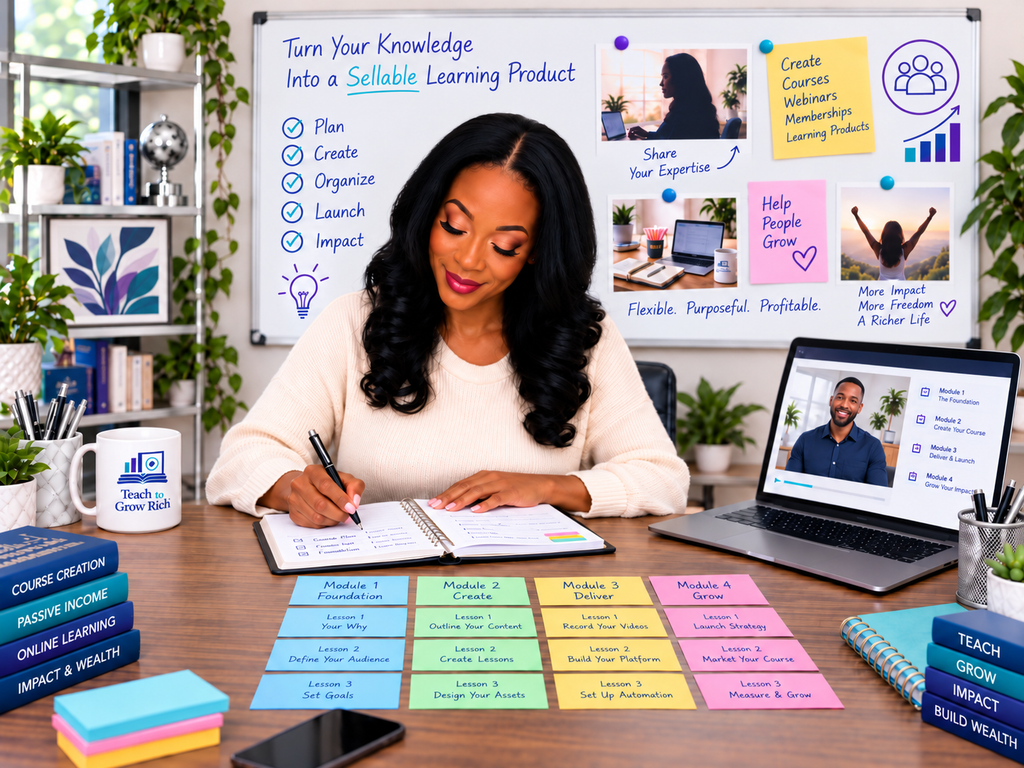
Turn each objective into a module, then break each module into short lessons that teach one idea at a time. This gives learners a clear path and makes their progress easy to see.
Order the modules the way the skill is used in real life, from the first task to the last. Because adults prefer learning that is centered on problems rather than subjects, a module called “Find Your First Three Leads” works better than one called “Lead Generation Theory.”
Keep each lesson focused on one clear idea or skill. If a lesson becomes too broad or covers several different concepts, break it into shorter lessons so learners can move through the material in manageable sections.
Here’s what a simple structure for a short skills course could look like:
| Module | Focus | Ends with |
| 1. Getting Started | Setup, tools and the result learners will reach | A checklist of what they need |
| 2. The Core Method | Your step-by-step process, with examples | A guided practice task |
| 3. Real Application | Using the method on their own work | A finished piece of work |
| 4. Next Steps | Common mistakes and how to keep improving | A personal action plan |
Step 6: Develop Engaging Learning Activities and Course Materials
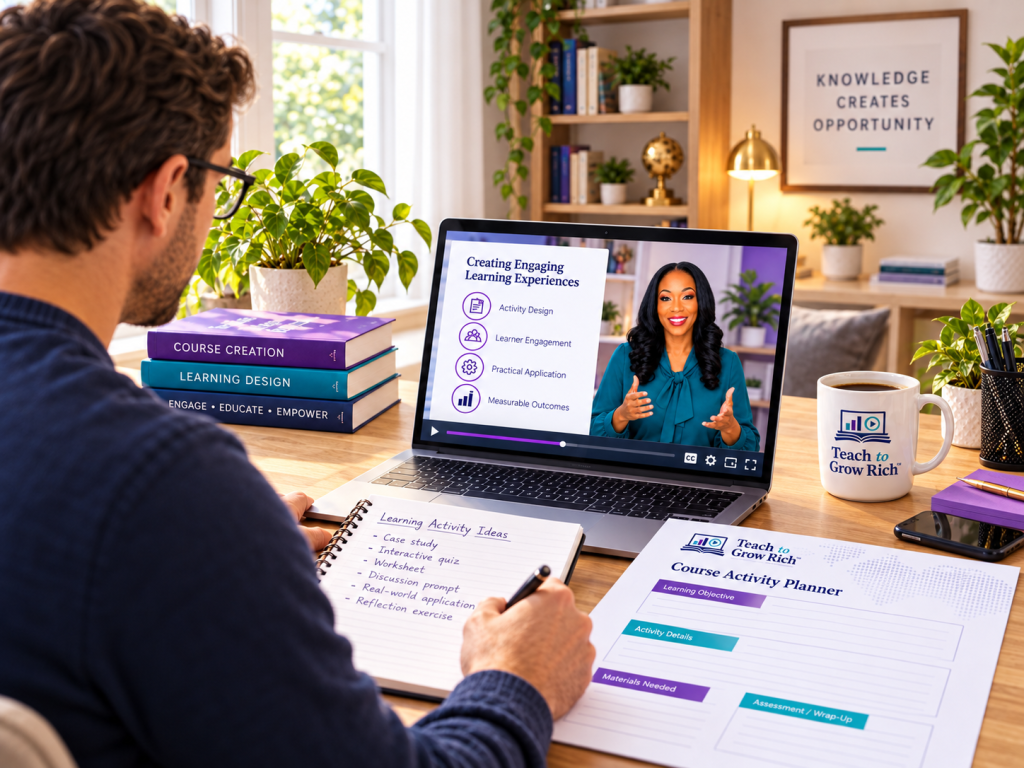
People learn more effectively when they actively work with information rather than simply watch or read it. Build opportunities into your course for learners to recall, practice, apply, and use what they have learned.
Practice That Helps Learners Remember
Practice that requires learners to recall and use information can strengthen learning. You can build this into your course with a few simple tools:
● A short quiz at the end of each lesson.
● A worksheet that uses the learner’s own work.
● A small real task, like writing a proposal.
● A quick question about the last module before starting the next one.
Materials That Support Real Work
Adult learners also bring years of personal and professional experience into the learning process. Questions such as ‘Where have you seen this problem at work?’ can help learners connect new ideas to what they already know. You also do not need expensive production equipment to create an effective course. Clear audio, good lighting, organized content, and a well designed learning experience matter more than creating an elaborate studio production.
Step 7: Select the Right Platform to Deliver Your Course
The right platform depends on how much control you want, how you plan to sell, and whether your course is self-paced or live. It also depends on what you plan to sell, since many experts offer more than a course, such as a workshop, a workbook or a set of templates. Most creators choose from six types of platforms.
| Platform Category | Examples | Best For | Keep in Mind |
| Online Course Creation and Hosting | Teachable, Thinkific, Kajabi | Building and selling courses under your own brand | Monthly fees |
| Course Marketplaces | Udemy, Skillshare | Reaching learners who are already browsing for courses | Less control over pricing and learner contact |
| Self-Hosted Learning Platforms | WordPress with LearnDash | Full control over design and learner data | More setup and upkeep |
| Cohort-Based Learning Platforms | Maven | Live programs where a group learns together on set dates | Needs regular live teaching time |
| Community-Based Learning Platforms | Skool, Circle | Courses combined with ongoing discussion and member support | The community needs regular attention to stay active |
| Creator Storefronts and Learning Product Monetization | Stan Store | Selling courses and other learning products without building a website | Fewer course building features than dedicated course platforms |
Creator storefronts are worth a closer look if you don’t have a website. Stan Store gives you a simple online shop that you can link from your social media profiles. From there, you can sell an online course alongside other learning products, such as digital guides, templates or one-to-one sessions. That makes it an easy first step for a nurse, hairstylist or accountant who wants to start teaching without building a full website.
Before you choose, check that the platform supports the learning experience you designed in Steps 5 and 6:
● Can learners move through your modules in the order you planned?
● Does it support quizzes, assignments or downloadable worksheets?
● Can learners ask questions or talk to each other if your course needs that?
● Can you sell other learning products, such as workshops or templates, in the same place?
The platform should fit your course design, not the other way around. Many creators start with a simple option and move to a bigger platform once sales are steady.
Step 8: Price Your Online Course for Profitability
You should price an online course based on the result it gives people, not on how many hours of video it has. A short course that solves a costly problem is worth more than a long one that covers everything lightly. If your course helps a consultant win one new client, think about what that client is worth to them. That value, not the video runtime, should guide your price. Price also affects how seriously people take a course. MIT researchers Justin Reich and José Ruipérez-Valiente looked at six years of edX data. In 2017-18, only 3.13% of all learners finished their course. Among learners who paid for a certificate, 46% finished. To be fair, this doesn’t prove that paying makes people finish. People who pay are often more serious from the start. Still, committed learners finish more often, and learners who finish are the ones who get results and recommend you.
To check profitability, add up your costs, including platform fees, ads and your support time, then work out how many sales you need. If that number looks unrealistic, raise the price or add more value. Different learners want different levels of help, so a simple set of options lets each person choose what suits them:
| Option | What’s Included | Best For |
| Self-Paced | Videos, quizzes and worksheets | Learners who like to work alone |
| Group Program | Everything above, plus live calls and deadlines | Learners who need structure |
| Premium | Everything above, plus personal feedback | Learners who want direct help |
Step 9: Develop a Marketing Strategy and Prepare for Launch
Marketing starts well before launch day. The people from your workshop or pilot group in Step 3 are your first audience, so keep them involved. Split the work into two stages.
Before Launch
● Build an email list by offering a free checklist or short guide linked to your course topic.
● Share useful content on the channel your audience already uses, such as LinkedIn, YouTube or a newsletter.
● Collect testimonials and real results from your pilot group.
● Write a sales page that opens with the learner’s problem, lists your learning objectives, and shows the module outline.
Launch Week
- Open enrollment for a fixed period, such as five to seven days.
- Offer an early bird price or bonus for the first few days.
- Host a free live session that teaches something useful and ends with an invitation to join.
- Send reminder emails, including one on the final day.
After launch, ask learners what helped and where they got stuck, and use their answers to improve the next round.
Final Thoughts on Turning Your Expertise Into a Profitable Online Course
Turning professional knowledge into a profitable course is a design job as much as a teaching job. When you know your learner, test your idea, set clear objectives and build in real practice, you create something people finish, use and recommend. Start small. Choose one problem you’re great at solving, sketch a short course around it, and test it with a few real learners this month. Their questions will show you what to build next.